The art of restoring a vintage Harley-Davidson: where should you start?
In this article
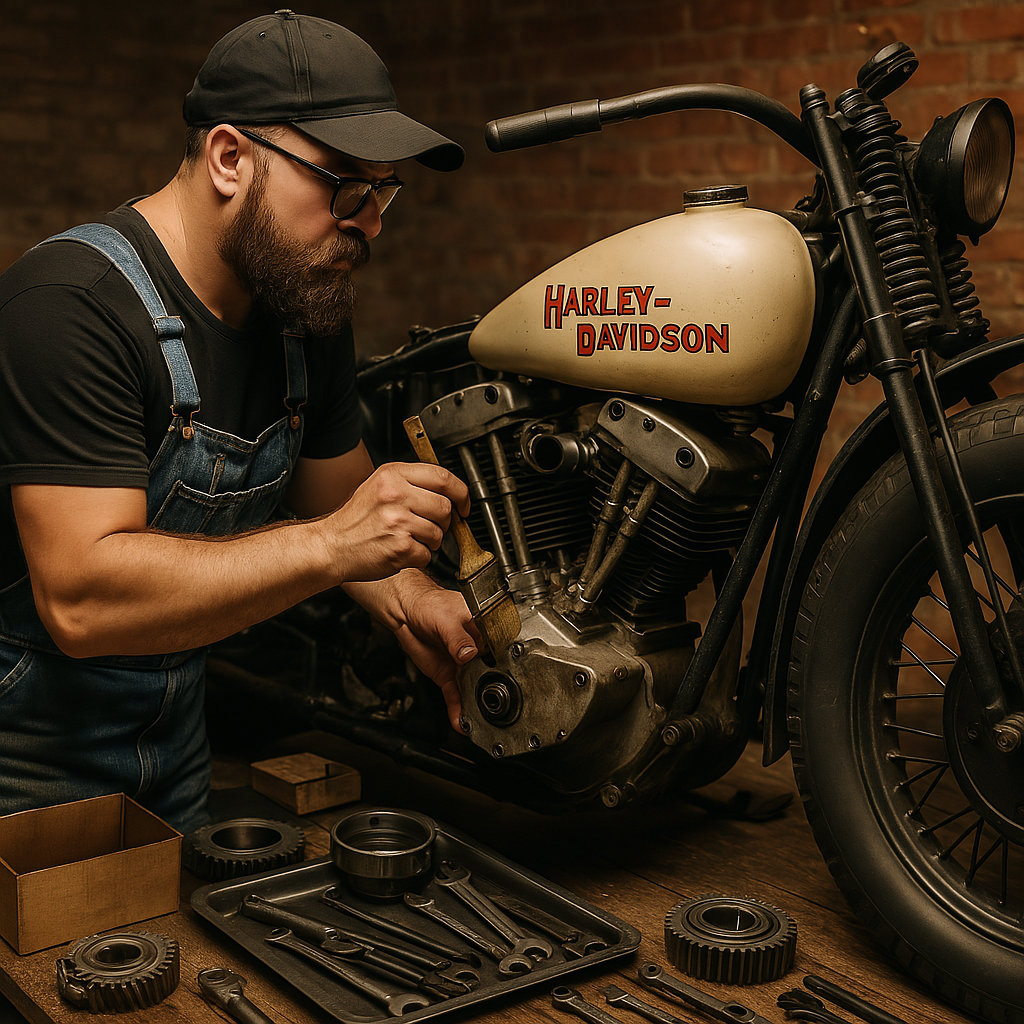
Restoring a vintage Harley-Davidson is more than tinkering with a pile of metal: it is bringing a legend back to life. Here is your complete step-by-step guide to tackling the project with passion and method.
🏍️ 1. Choose the right Harley to restore
Before getting your hands dirty, choose the right model. Legendary models such as the Panhead, the Shovelhead, or the Knucklehead are highly sought after. But the rarer the model, the harder parts are to find. If you are starting out, it is better to choose a more accessible model, such as a 1980s FXR or a Sportster Ironhead.
💡 Want to go further? Discover the history of Harley-Davidson’s iconic models.
🔍 2. Assess the motorcycle’s overall condition
Inspect everything: frame, engine, suspension and wiring. Every detail matters. Note what needs replacing, repairing or simply cleaning.
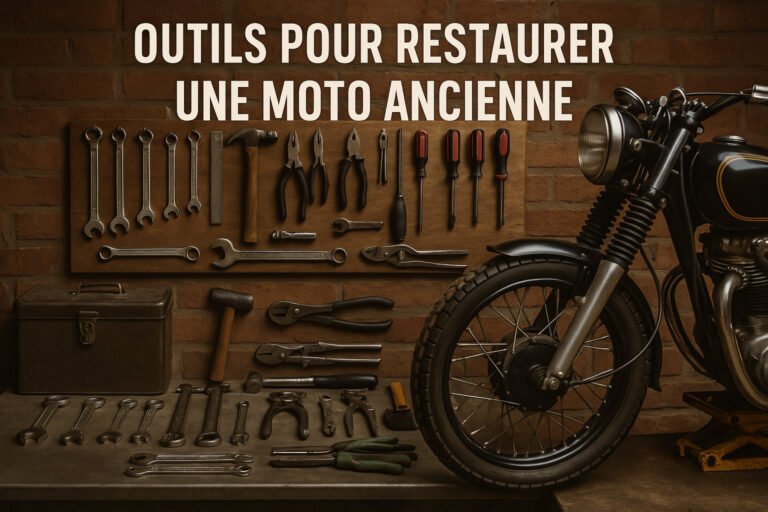
🧰 Get the right equipment from the start. Here are the essential tools for restoring a vintage motorcycle : motorcycle lift, torque wrench, feeler gauges, compressor, ultrasonic cleaner and more.
📚 3. Gather information and documentation
Workshop manuals, wiring diagrams and parts catalogues: the more information you have, the fewer mistakes you make. Specialist forums and enthusiasts’ Facebook groups are also goldmines.
🔍 Need parts? Read our guide How to identify and find original parts for a vintage Harley-Davidson.
🛠️ 4. Methodical dismantling and labelling
Take your time. Every screw you remove should be stored, labelled and photographed if necessary. Above all, stay organised. It is the key to staying sane after 3 months of restoration.
🔧 5. Rebuild the engine and vital components
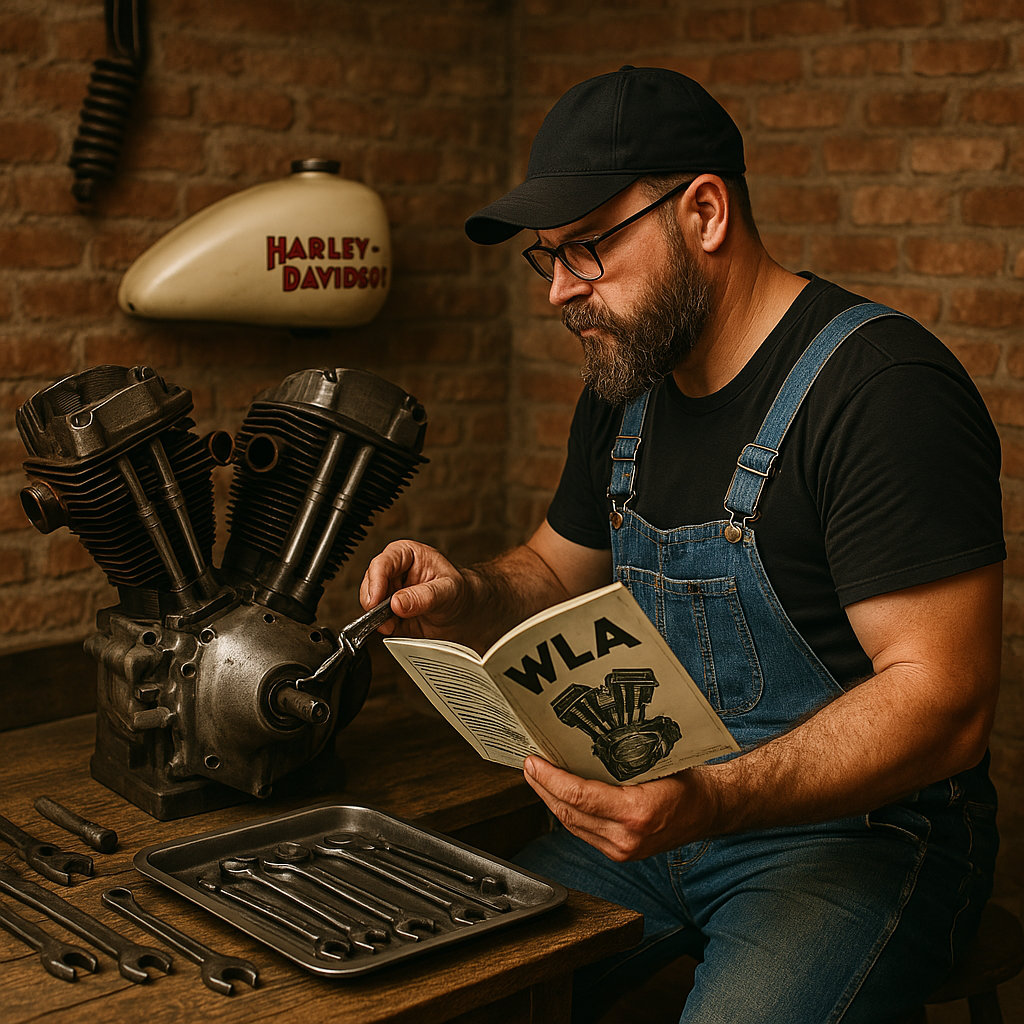
The engine is your Harley’s heart. A complete strip-down is often necessary:
Checking the cylinders
Replacing gaskets, pistons, valves and more
Inspecting the gearbox and clutch
If you are unsure, call on an old-school mechanic. A mistake here can be very expensive.
❌ Essential reading: Mistakes to avoid when restoring a classic motorcycle – so you do not turn your legend into a paperweight.
⚡ 6. Renew the wiring harness
Starting from scratch is often safer: a new wiring harness, battery, coil and electronic ignition if you want a little modern convenience without losing the vintage spirit.
🎨 7. Looks and finishing: make it shine
Paint, chrome and seat leather: you can do everything yourself or call on passionate craftspeople. Why not restore the original colours? Or customise it tastefully (avoid the tribal flames, brother…).
🧽 8. Maintenance after restoration
A restored Harley is like an animal waking from hibernation: it needs care.
Regular oil changes
Lubrication
Chain tension
Old-school cleaning
🔧 Read our article: Maintaining a restored Harley-Davidson: tips and advice.
🏁 9. What next? Finally, the pleasure of riding!
Once your pride and joy is ready, test it gently. Listen for noises, check tightness and adjust the settings. Then hit the road, man. It is more than a motorcycle now: it is your rolling work of art.
🔗 Related articles you should read: